Gauntlet Mode is one of the various challenge modes you can play in TerraTech. In this mode, you create a racing tech to drive through an obstacle course filled with jumps, ramps, hostile techs and hair-pin bends.
You can access Gauntlet Mode from the Challenges menu on the main menu.
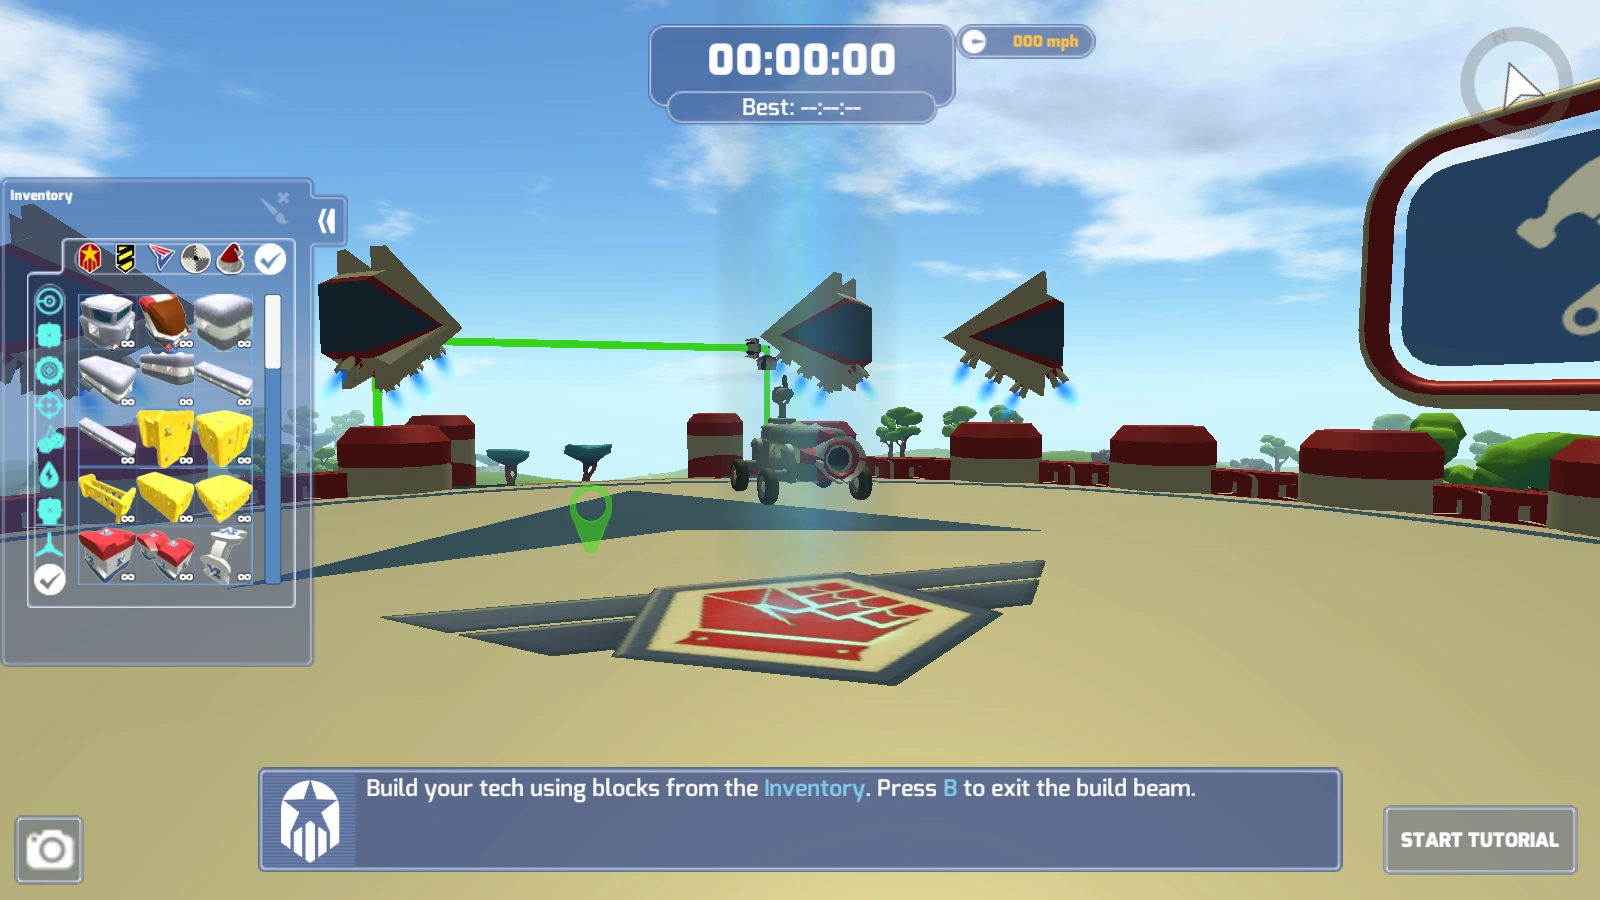
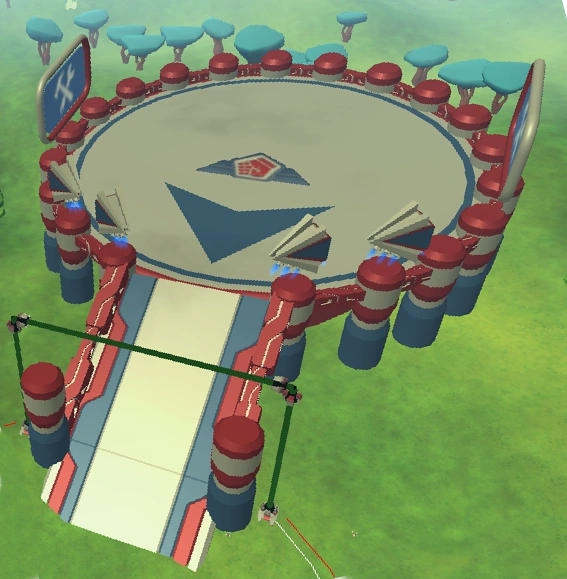
After the mode is selected, the player is starts in a circular building area. They are introduced to the mode, and the player can click to proceed. From here, you can see the various elements of the Gauntlet UI.
Timer - Shows the elapsed time in the course, as well as the best time from the saved ghosts. The timer starts when the player crosses the first checkpoint
Speedometer - Shows the current speed of the tech. Unlike in Story Mode, techs do not need a speedometer to show the speed.
Radar - Shows the directions of dispensers and enemies.
Block Menu - Lets you select blocks to build your tech.
Take Snapshot - Lets you save your tech so you can use it in other game modes.
Dialogue Box - Gives you dialogue for various parts of the mode, such as how to start, how to build a tech, when you go out of bounds, etc.
Start Tutorial - Respawns you with a cab and starts the tutorial. This teaches you how to build a tech, how to drive, how to fire your weapons, and how to start the race.
In addition, there are two other parts of the UI not shown at the start.
Return to Checkpoint - Respawns you at the last checkpoint with your last saved tech. This can be useful when you get stuck, or if your tech is badly damaged.
Checkpoint Marker - Shows you where the next checkpoint is.
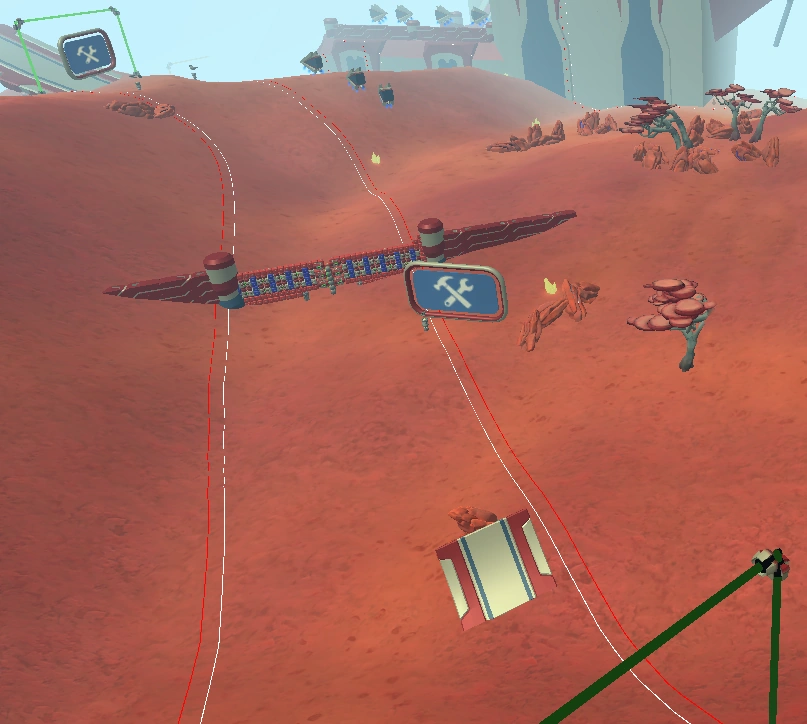
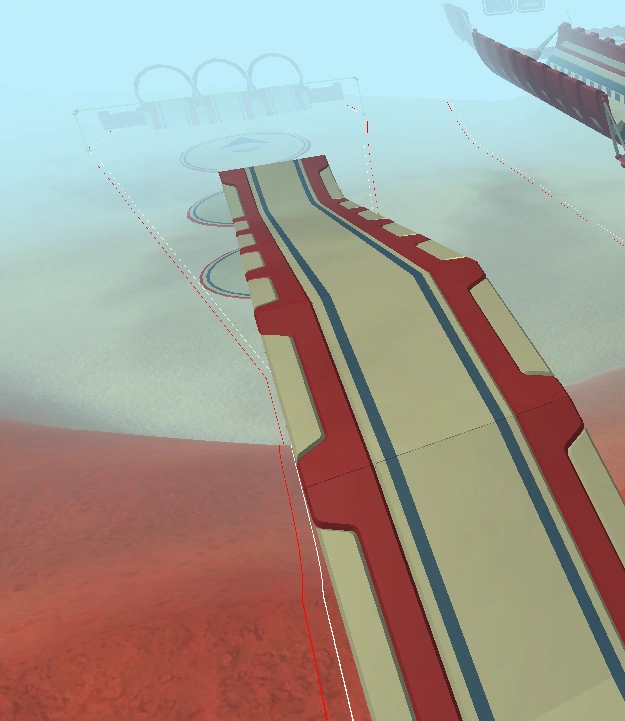
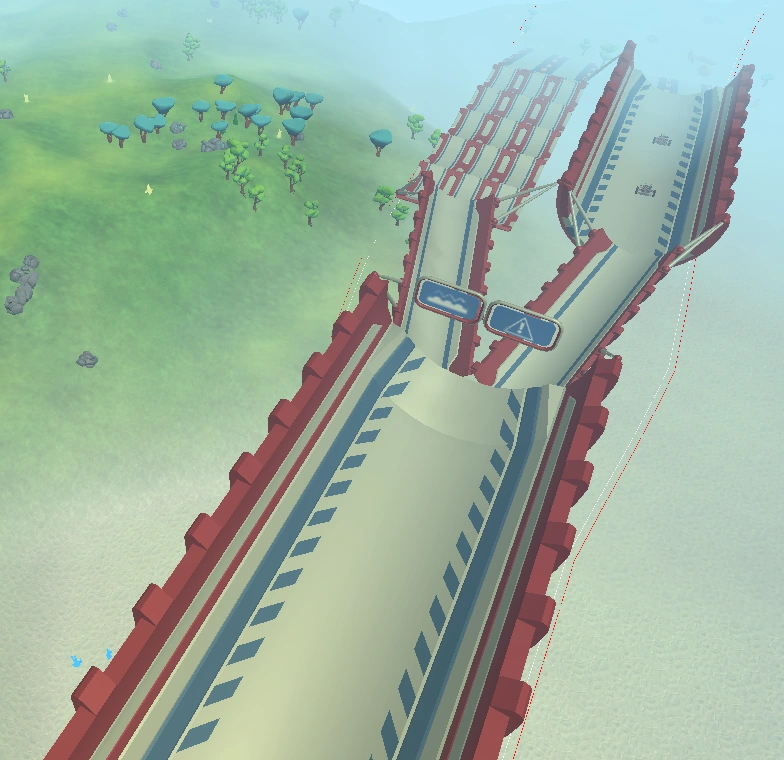
The course is highlighted with boundary lines around the edges. Crossing the red line will destroy your tech and respawn you at the last checkpoint. Besides the building area, there are 10 areas with 10 checkpoints, including the finish line. Each area has different obstacles to get around in addition to the world itself, such as ramps, walls, pillars, and enemy techs.
To finish the course, you must go through all 10 checkpoints and cross the finish line. When you pass each checkpoint, your tech is healed. The object is to try to get the fastest time you can with the tech you have built.
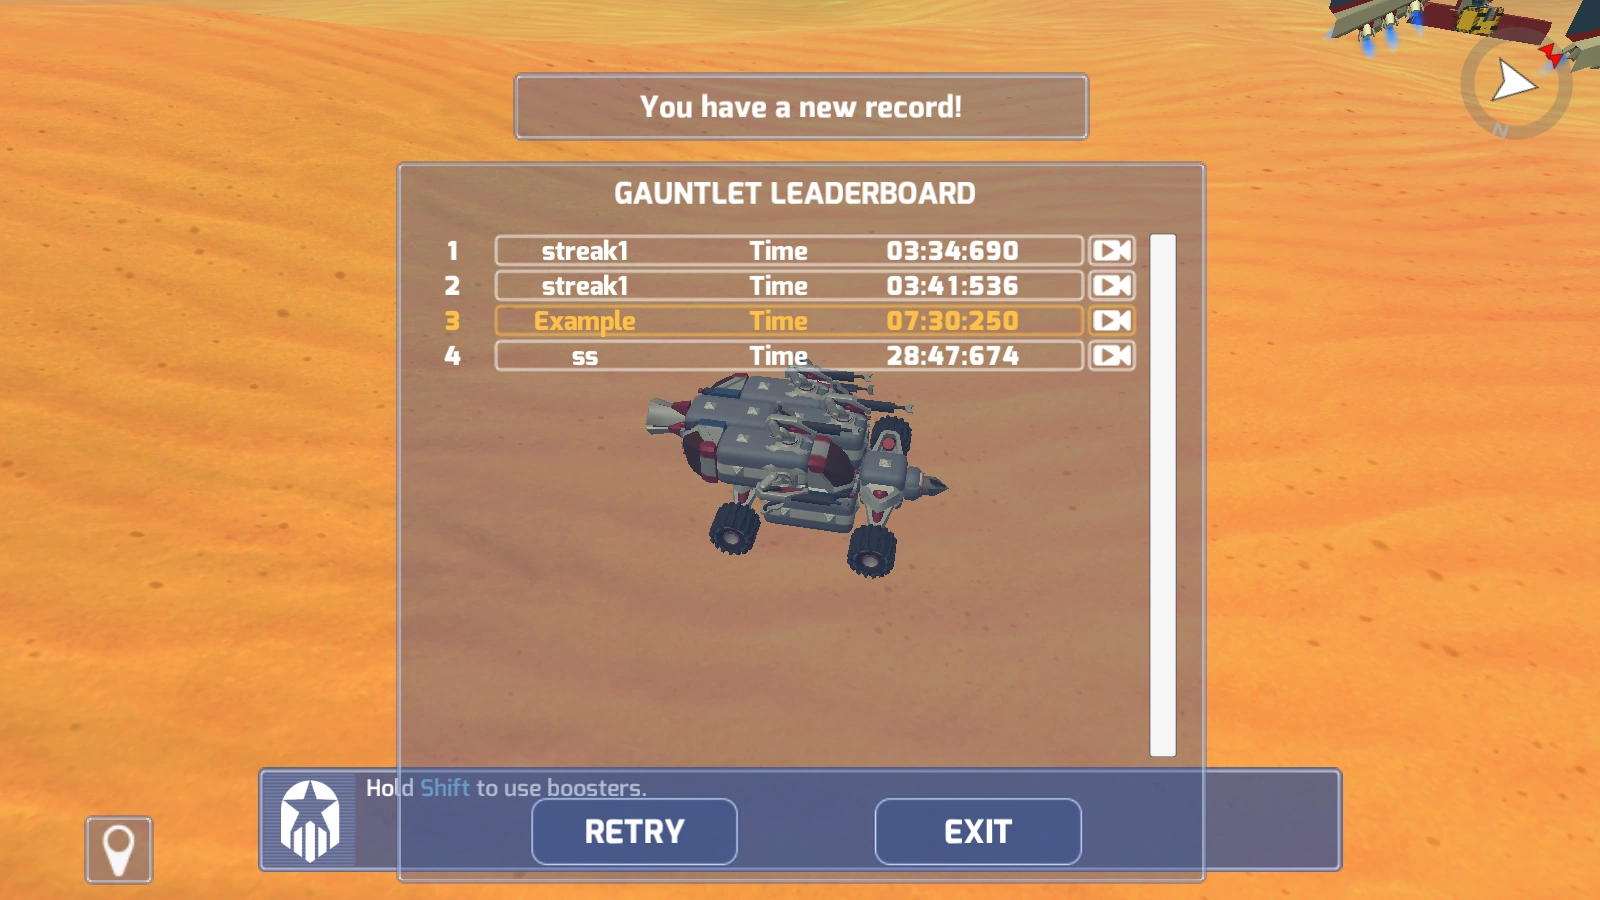
Gauntlet Leaderboard
When you finish the course, you can type your name and submit your time. A ghost will be saved, which will run the course against you the next time you start. Your time will also be posted to the leaderboard, and from here you can Retry, Exit to the main menu, or play the ghost runs by clicking their respective buttons.
While not really part of the course, this area can have some small challenges when starting the timer. Firstly, you must make sure that your tech is small enough to fit through the walls of the ramp. You also need to make sure that you do not start the course too close to the edges of the checkpoint gate, as this can destroy your tech.
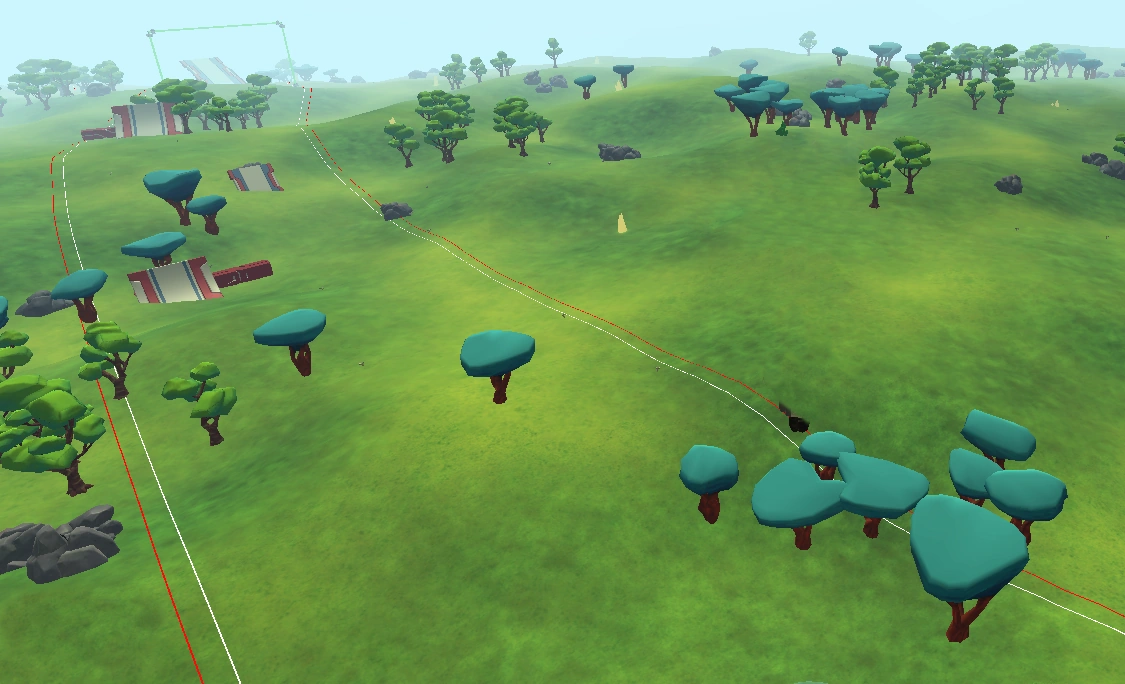
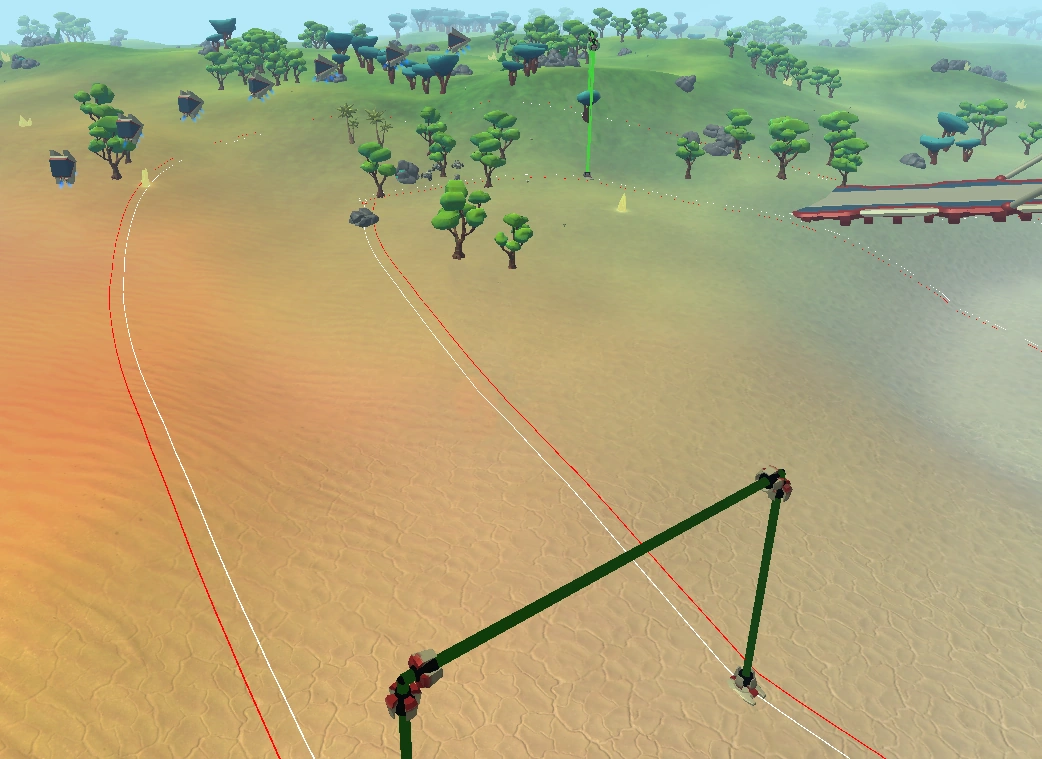
Grasslands
Grasslands
This starting area can be tricky to navigate, especially with a quick-turning tech. In the very beginning, you should watch out for the trees in the middle of the course, as they can be very easy to run into. Then, you should avoid the first ramp, which will usually slow you down. If your tech is fast enough, you can use the second ramp to jump over the trees, but be careful not to run into them or land on top of them. The second ramp is easier for getting over the trees, but the same caution should be used. The safest way is to stay down and drive around the trees, but this can only be done with a small tech. You can also drive through the trees and destroy them, but this can be slow.
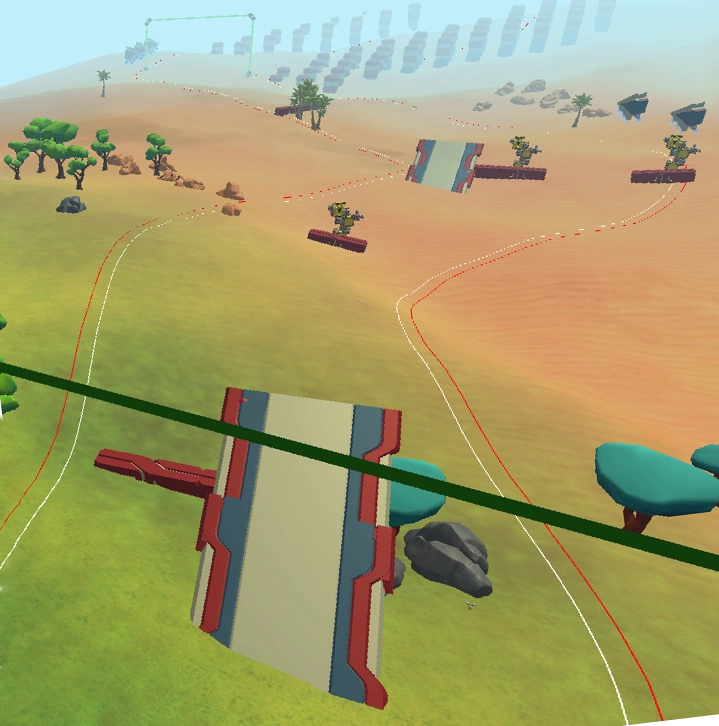
Turret Slalom
Turret Slalom
Before you get to the turrets, you have to get past the ramp. Usually, the ramp is the best option, though going over the wall is faster if you have the means to jump. Going around the ramp is another option, but it can be slower, and it puts you at risk of going out of bounds. After this, the rest of this section is straight forward: avoid the walls, avoid the turrets. The second ramp is usually faster than going through the gap.
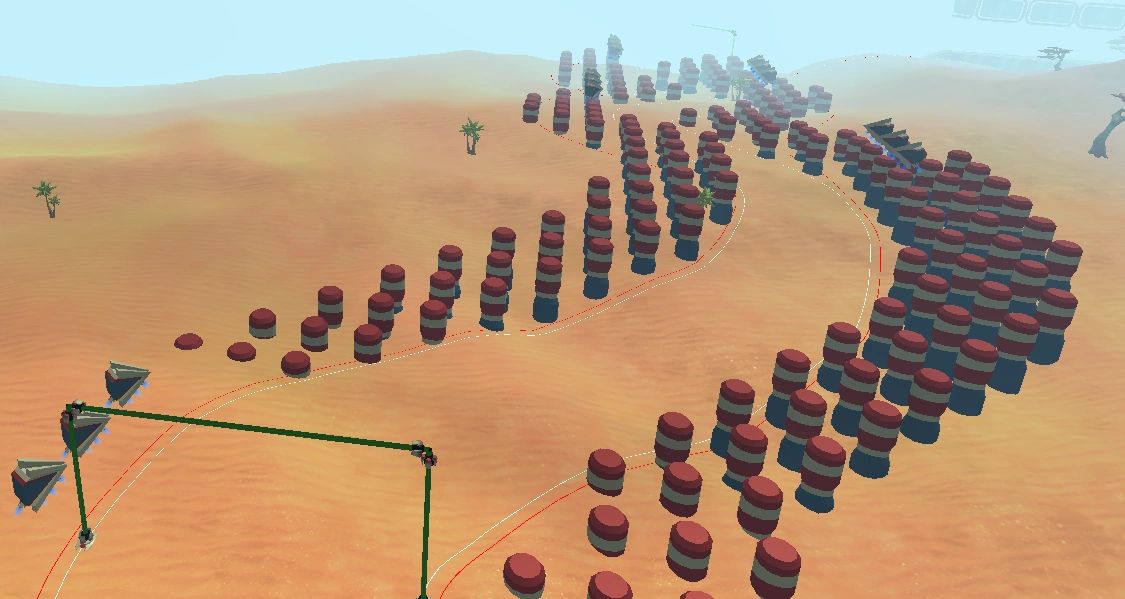
Pillar Slalom
Turret Slalom
This area is simple: Go around the bends, don't hit the pillars. If your tech is 4 blocks wide or smaller (3 is better), then you can also try going through the pillars. However, there is a lot of room for error with this, so it may be wise to ignore it.
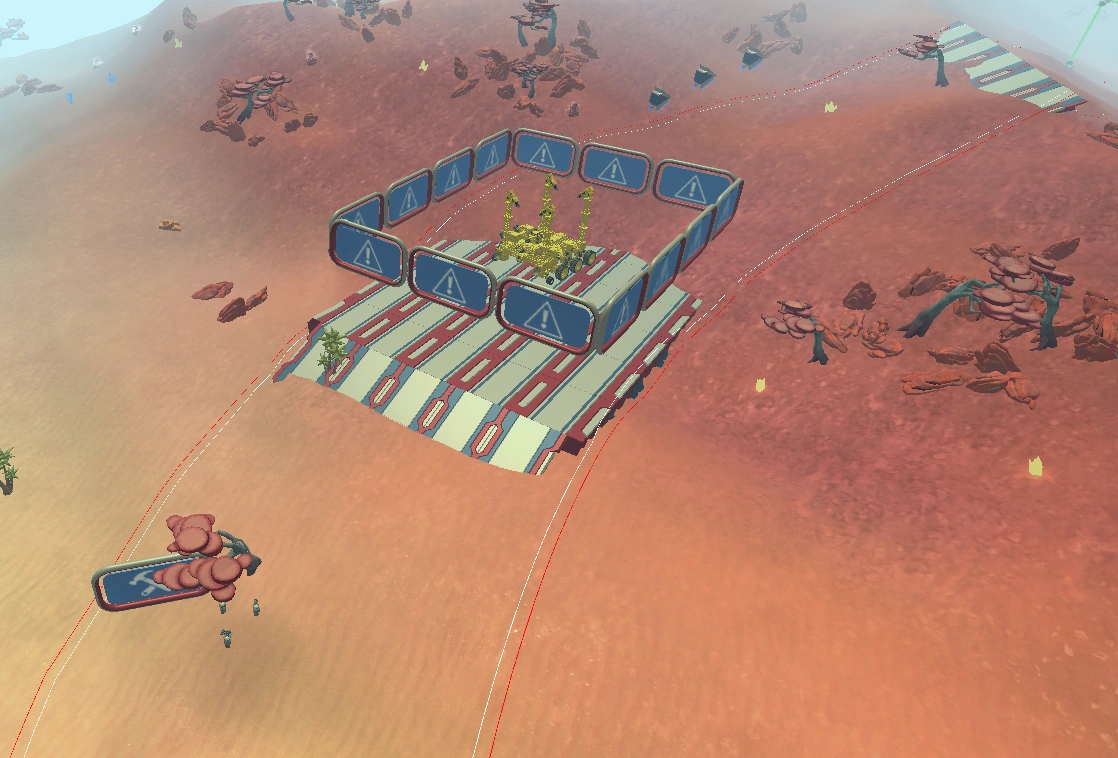
Pusher Platform
Pusher Platform
The notable obstacle of this are is the large GeoCorp tech blocking your way. This tech isn't very threatening as far as damaging your tech, but it can push you off the course if you aren't careful. Either go around it, or if your tech is small enough, go under it.
Fuel Tank Wall
Fuel Tank Wall
This area features a ramp and a wall made of fuel tanks. Here, you have three options: go over the wall, destroy the wall, or if you have a very small tech, go under the gap on the bottom. Out of all of these, going under is the quickest route, but it is only available for very small techs that are only one block tall. Going over is the second fastest, but it can be tricky to get over without going out of bounds. Destroying the wall is the easiest way to get through, though be careful of the exploding tanks, as they can severely damage your tech if you don't back away from the blasts.
Ski Jump
Ski Jump
This area is very simple, as your only option is to jump the ramp. Your goal for this area is to get as far as you can with your jump, and stick the landing. This is less about driving skill and more about how you have built your tech, so try to build a tech that can jump far and straight. Another thing to keep in mind is that the platforms aren't level to the ground, so mind the bumps if you have a very small tech.
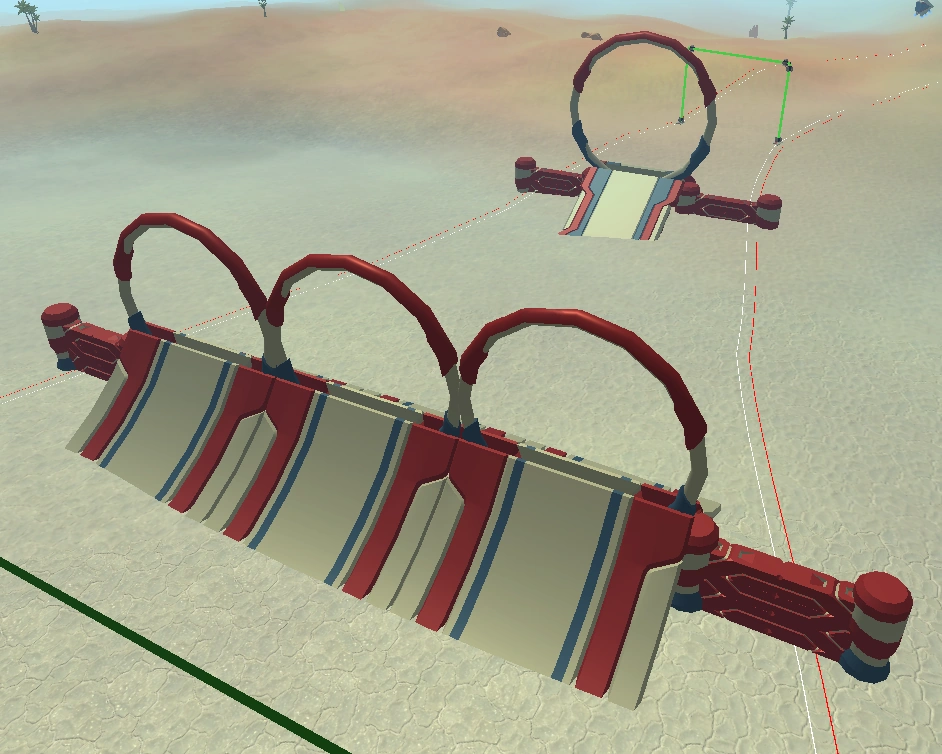
Salt Jumps
Salt Jumps
Like the area before it, this area is very simple. Jump the ramps, keep going straight, don't hit the rings.
Tony's Bend
Tony's Bend
This area can be a very tricky part of the course. It is a sharp turn with lots of trees in the way, all while being shot by a group of small GSO techs. There is no one way to get through this area, so just try to avoid the techs and trees, and destroy anything that gets in your way. Also, be careful of your camera, as it can be slow to adjust to the sudden curve.
Traveler's Fork
Traveler's Fork
This area gives you two routes. The left route is the safest route, taking you across a series of short jumps. The right route can be faster, but more dangerous, taking you across a half pipe with two fairly large Venture techs. The route you should choose depends on the tech you have made. If your tech is good at jumping, the left route might be better. If your tech is fast enough to avoid the fire from the two techs, you might want to try the right route. All things considered, both routes are pretty even choices.
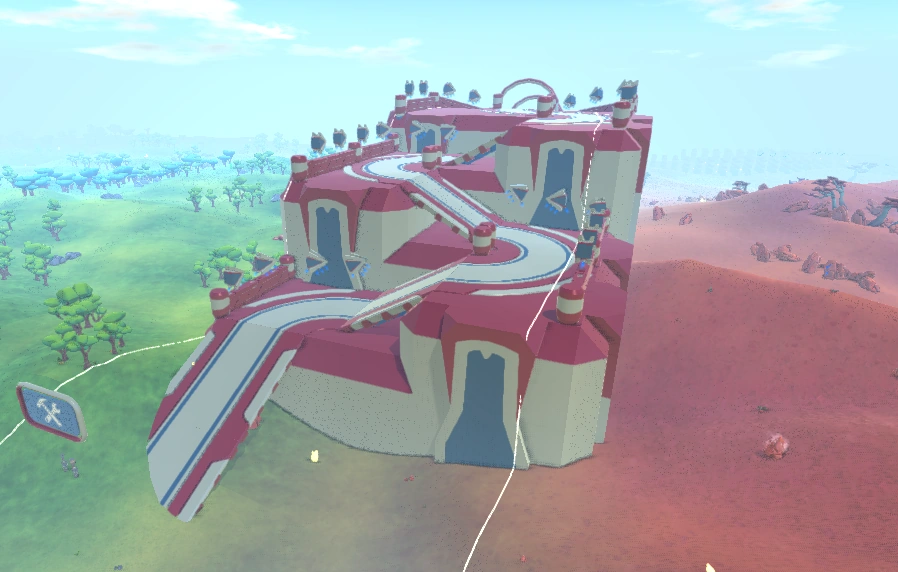
Venture Tower
Venture Tower
The final area brings you up a series of turns and ramps going up a large building, and then a final stretch to the finish line. Steady and careful is the best course of action here, as trying to rush might leave you spinning out, getting stuck, or jumping over the walls. On the final climb, if you have a relatively small tech, you can cut across the red beveled floor for a small short cut. Once at the top, it is just a straight shot down the ramp to the finish.
Building techs[ | ]
There are 3 general approaches for building techs in Gauntlet. The first is to make a simple tech, one that is easy to drive, is strong, and won't mess up along the way. These techs are the slowest, but the easiest to use. Then you can try to make a smaller tech, one that is small enough to fit through gaps and take short cuts. These techs usually make faster runs, but are often more difficult to use, and can be weak to enemy fire. Lastly, you can make a flier and avoid the course. These are tricky to use, and due to how wide they can be, they often run into obstacles that aren't much of a problem other wise. You also have to keep the checkpoints in mind, as going over them doesn't count. All this considered, fliers make the fastest runs by far.
In general, when making a tech for Gauntlet, you want something that is fast, easy to turn and control, has at least one weapon for removing trees and the fuel tank wall when needed, and is fairly small. And since you don't have access to shields in Gauntlet, you also want it to be able to withstand short bursts of enemy fire, or to be able to avoid enemy fire entirely. You also want to have some form of boosters in your tech, as boosters can be very useful for getting around certain obstacles. Above all, make a tech that you can pilot easily and precisely.


